• Skip to primary navigation
  • Skip to main content
  • Skip to primary sidebar
  • Skip to footer

Chocobo Yoga | East Dallas Yin Yoga

Strength. Flexibility. Balance.

Facebook Instagram
  • Home
  • Class Schedule
  • Book a Private Session!
  • About the Chocobo Yogi
    • Contact the Chocobo Yogi
  • Blog
  • Young Living Essential Oils
Home » Blog

Blog

Going Solo with a Virtual Yoga Studio

June 3, 2020 by Keri

So. What a year it has been, right?

The COVID-19 pandemic has changed the world in ways no one fathomed. One way it has affected me personally, is that my yoga studio had to close its brick-and-mortar space for good. The studio had only been in that space for about three years, and that wasn’t long enough for the studio to survive the many months of shut-down. They’re attempting to do everything from a virtual yoga space instead, but I am not part of it at this time.

For now, the virtual studio can only support a few teachers and classes, which I understand completely. This is one crazy time, and no one knows what the future is going to hold for fitness studios. As such, I’ve decided to try out my own virtual studio.

I can’t believe I’m attempting to start a second business, but after seeing how a virtual yoga studio can work, I had to try. I’d never forgive myself if I never tried.

baby crow pose
baby steps…or in this case, baby crow

How is a virtual yoga studio going to work?

Well, so far I’m taking it one week at a time. Right now I have two Yin Yoga classes set a week on the same days and times as they were at my last studio. I’m also exploring options for a third weekly non-Yin Yoga class. Sign-ups for the classes are on the website itself. I thought about trying MindBody again, but then I remembered how expensive it is for every little thing. I have no idea how small studios starting out afford it. Paying a year subscription for the website tools I’m using is less than the lowest MindBody partnership MONTHLY subscription. That doesn’t even include their merchant processing system if you want to use credit/debit cards.

SO.

I have two options for classes:

  • Becoming a member
  • Dropping in a class and paying via Venmo

Memberships

I’m handling all memberships through Patreon. I have four tiers set up to join as a member. The upper tiers include private sessions, but the lower tiers are just for classes. It’s $10/month for one class a week and $35/month for unlimited classes. Once I get that third class finalized, the unlimited option will be a bit more enticing (I hope, anyway).

Drop-Ins

I’ve wrestled with pricing a lot. It’s so hard to come up with a fair price for both the teacher and students; harder than I thought it would be for sure. I’ve finally settled on $5/class for drop-ins. All you have to do is Venmo me at least 20 minutes before class, and I’ll add you to the email I send out with the class information.

Which brings me to…

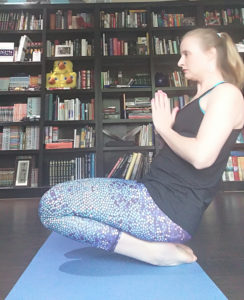
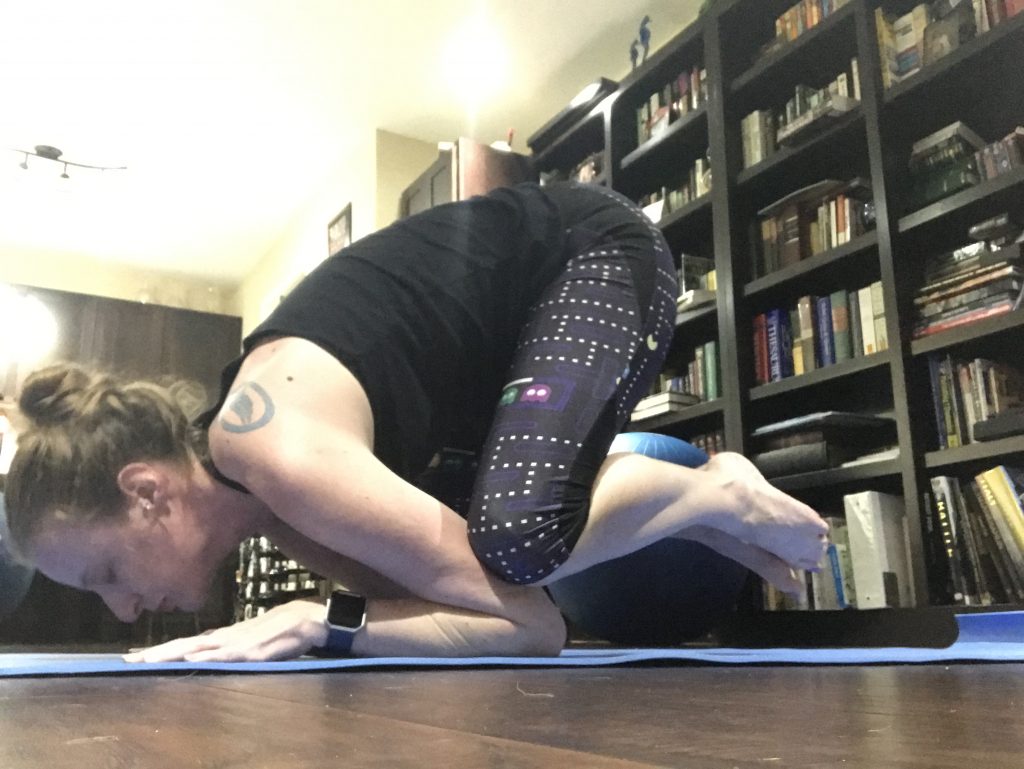
The classes, woman. What about the classes?

I’m using Zoom for all of my virtual yoga classes. It’s a free app anyone can use on their laptop or mobile device, and most people have had to use Zoom during the pandemic at some point. Even if you haven’t, it’s super simple to set up and use.

About 15 minutes before class starts, I will email everyone who has signed up with the Zoom ID, link, password, and what props will be needed.

And that’s it! It should be rather easy peasy, lemon squeezy. Maybe one day, if I can get enough memberships, I can look at opening my own brick-and-mortar space. That really would be an incredible dream come to life.

Filed Under: Blog Tagged With: online yoga classes, Studio News, virtual yoga classes

DIY Laundry Detergent Tabs with Essential Oils (without Borax)

July 8, 2018 by Keri

DIY laundry tabs

After making my own dishwasher detergent, why not make my own laundry detergent? However, I was going to be a bit pickier when it came to making laundry detergent. I love my Gain pods. I love the convenience of just tossing that pod into my washing machine without measuring a thing. I don’t want to go back to regular pod or liquid detergents. Is it possible to make laundry detergent tabs, similar to the dishwasher tabs?

As it turns out, the answer is yes. Like the dishwasher detergent, the ingredients are not expensive. In fact, I have to say that they’re less expensive, because I always keep salt and baking soda on hand in my kitchen. Plus, I already have the Super Washing Soda from the dishwasher detergent, not to mention the Young Living Essential Oils. Let’s do this.

I have to drop a special caveat here before I go any further. It takes quite a bit longer to prep than the dishwasher detergent. I hope you like grating soap, because that’s what takes up the largest chunk of your time. If you have a food processor with a grating option, by all means, use that. I may have to buy one for myself before too long, because hand-grating the soap takes more time than I care to admit.

This is where I got my recipe, but I’ve added a few more oil drops to include three different essential oils, including Thieves Essential Oil blend. I use Thieves because it’s antiviral, antibacterial, and antiseptic. It’s going to kill anything growing on our clothes, especially the kids’ clothes. I also use the Purification Essential Oil blend, which takes care of any lingering odors. Then of course, there’s lavender, because lavender smells just amazing.

Here is my recipe along with links where to buy the ingredients. Note that this recipe does NOT call for Borax. I’m not a fan of using Borax in general, especially if you read what is in it. That’s the biggest reason why it was this recipe that got me to attempt to make my own tabs—recipe had to be Borax-free.

This will make approximately 28-30 laundry tabs. Just toss one in with your laundry like you would laundry pods.

Purifying Thieves DIY Laundry Detergent Tabs

  • 4 ounce bar castile soap
  • 1/2 cup Super Washing Soda
  • 1/4 cup salt (plain ol’ salt)
  • 1/4 cup baking soda
  • 1/2 cup distilled white vinegar
  • 6 drops lavender essential oil
  • 4 Purification
  • 2 drops Thieves

DIY laundry detergent tabs

Grate the castile soap bar into a large bowl. Add in the Super Washing Soda, salt, and baking soda. Mix together. Add in your essential oils.

As you mix the ingredients together with a wooden spoon, slowly add in the vinegar a little bit at a time. You’ll notice it will create a chemical reaction, which is why you don’t want to dump it all in at once. Keep adding and mixing. The mixture will start to clump together.

DIY laundry detergent tabs

Spoon the concoction into the ice cube trays and press firmly with your thumb or a spoon. Really press it in, or else they will fall apart when you remove them from the trays. Leave the trays in a sunny spot for at least 24 hours. Pop them out and store them in an airtight container. I used to store them in mason jars with the hinged lids, but my husband has rather large hands and he was destroying the tabs trying to get them out. I now use large food storage containers.

DIY laundry detergent tabs

And that’s it! It’s a little time consuming, but it’s still incredibly easy.

Filed Under: Essential Oils, Essential Oils Recipes, Healthy Chocobo Tagged With: Essential Oils, Essential Oils Recipes, Young Living Essential Oils

DIY Dishwasher Detergent Tabs with Essential Oils (without Borax)

March 23, 2018 by Keri


I’ve constantly had battles with our various dishwashers. Sometimes I needed a rinse aid, and sometimes I would not. Some detergents worsen rinse aid, and some detergents require it. Sometimes it doesn’t matter at all and I have to hand dry my dishes or wash them again. When I discovered that yes, you can make your own dishwasher detergent—and rather easily, I must add—I had to give it a try. The ingredients aren’t that expensive, I already own the Young Living Essential Oils, so why not give it a try?

It took me maybe 20 minutes tops to mix together the ingredients and pack the powder into ice cube trays, and that’s overestimating. Best part? It works.

My dishes come out clean, and I don’t need a rinse aid at all! It makes me wonder about conspiracy theories between dishwasher manufacturers, detergent companies, and makers of rinse aid. I’m not one for conspiracy theories, but I am convinced there is one between hot dog and hot dog bun companies.

This is where I got my recipe, but I’ve changed up the essential oils to include Thieves Essential Oil blend. I use Thieves because it’s antiviral, antibacterial, and antiseptic. I know my dishes are clean from the Thieves alone. The Thieves also gives the dishwasher a good antiseptic scrubbing as well. When combined with tangerine essential oil, your dishes and dishwasher both smell amazing.

Here is my recipe along with links where to buy the ingredients. (I actually have Super Washing Soda and citric acid in my Amazon dash buttons now.) Note that this recipe does NOT call for Borax. I’m not a fan of using Borax in general, especially if you read what is in it. That’s the biggest reason why it was this recipe that got me to attempt to make my own tabs—recipe had to be Borax-free.

This will make approximately 32 dishwasher tabs. The ice cube trays produce perfect-sized tabs to easily fit in your dishwasher detergent slot.

Thieves DIY Dishwasher Detergent Tabs

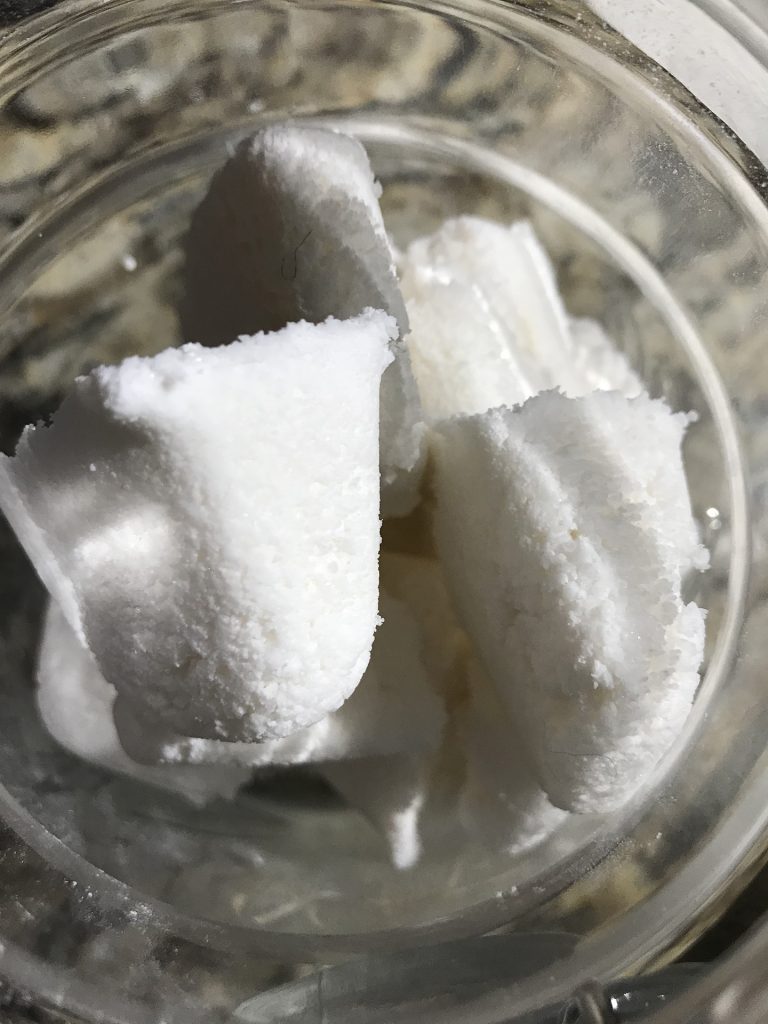
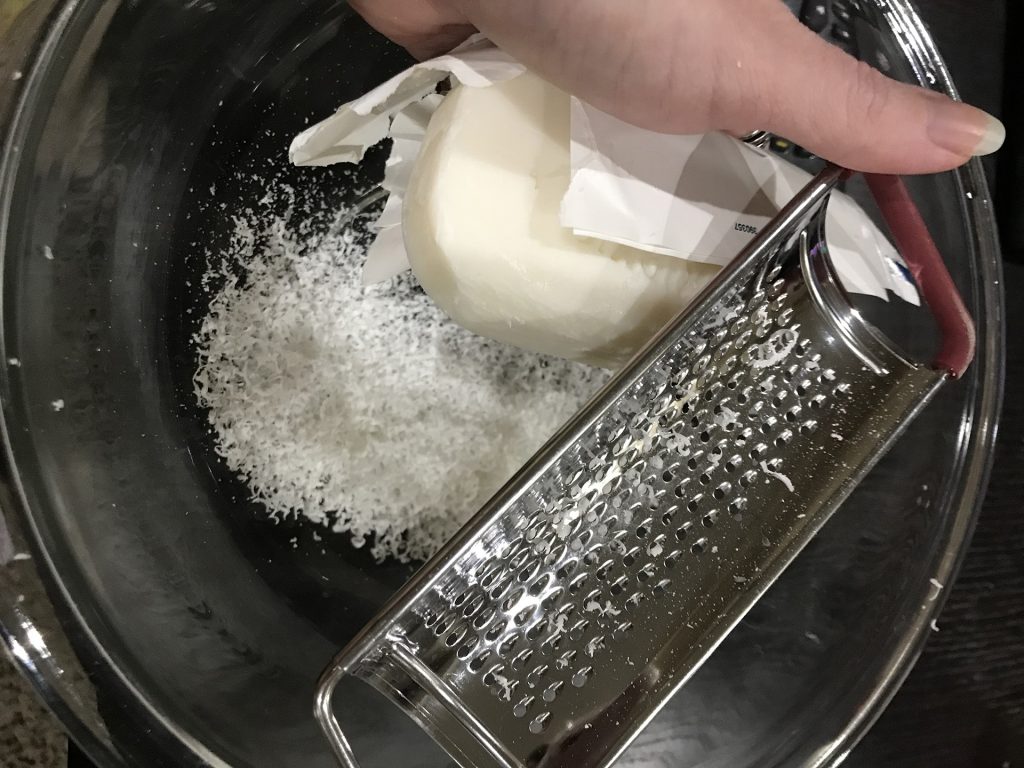
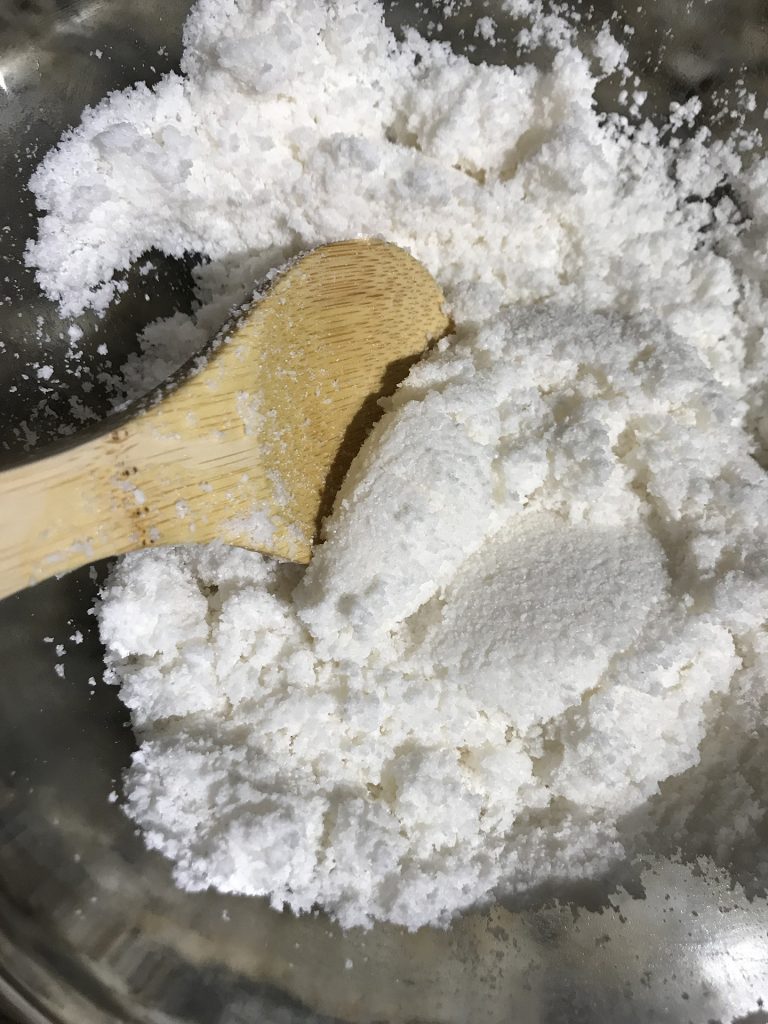
Combine the following in a large mixing bowl.

  • 1 cup Super Washing Soda
  • 1/4 cup salt (plain ol’ salt)
  • 1/2 cup citric acid
  • 20 drops Thieves
  • 20 drops citrus oil (tangerine, orange, lemon, or Citrus Fresh essential oil blend)

Mix together with a wooden spoon.

Spray 2-3 tablespoons of water from a small spray bottle while stirring. If you dump in the water, you’ll create a chemical reaction too quickly and the mixture won’t clump together. Slow is best. Stir and spray until the mixture feels a bit like wet sand. You should be able to clump it together, but if you drop it, it will disperse.

Press firmly with your hand or the spoon into ice cube trays. Really pack it in. Leave the trays out overnight to harden, then pop them out and store them in an airtight container. I store mine in mason jars with the hinged lids.

And that’s it! It’s so easy, you’ll wonder why you didn’t do this before.

Filed Under: Essential Oils, Essential Oils Recipes, Healthy Chocobo Tagged With: Essential Oils, Essential Oils Recipes, Young Living Essential Oils

DIY Shampoo with Essential Oils (Without Castile Soap)

March 6, 2018 by Keri

When I got into Young Living Essential Oils, it wasn’t very long before I looked into homemade recipes with the oils. Awhile ago, one of my private clients mentioned that she doesn’t use anything on her body, like face wash or lotion, that she can’t safely ingest. I looked into a few recipes for essential oil shampoos, and I figured why not try them. I already had the oils, so what would it hurt?

The first couple I tried required liquid Castile soap. Castile soap is made with olive oil and sodium hydroxide. The name comes from the Castile region of Spain, which makes this style of soap. It’s a very popular shampoo base for essential oil shampoos, but I didn’t like it. I read many articles about the experience, and they all said to be patient, that it takes time for your hair to adjust to not having the sulfates and silicone washed in. I lasted a little over a week.

Look, I fully expected my hair to be an oily, greasy mess. All of these articles said that would happen, and I would have been fine with that. However, I didn’t have an oil, greasy mess. Instead, my hair felt like it had this thick residue on it. I couldn’t touch my hair without cringing. My brush quickly became disgusting with the residue clumped on the bristles. It didn’t help that to counteract the Castile soap, you have to use an apple cider vinegar-based conditioner rinse. The smell. Oh Lordy the smell.

Enough was enough.

I found a couple of other recipes that used a different base, and I combined them for my own recipe. I absolutely love it. My hair is soft, voluminous, and not oily at all! Even better, after my hair adjusted to the sulfate- and silicone-free formula, I don’t need to wash my hair everyday. You have no idea how huge that is for me. My hair has always been a grease pit, and for a shampoo to clean my hair so well that my hair is not oily and still soft the next day is a miracle.

In fact, I don’t need a conditioner at all! I don’t even need a detangler. My hair stays soft and full of volume, and the best part is that I don’t have to wash my hair every day now.

If you’re curious, these are the two recipes I combined and adjusted. I probably would have just used the first one if it didn’t require coconut milk. There is no way I’m going to keep shampoo in the fridge, for a variety of reasons. The biggest two of them include I know I’ll never remember to get the shampoo out of the refrigerator until I’m already in the shower, and I can’t travel with a shampoo that needs to stay cold.

Without further ado, here is my DIY shampoo with essential oils.

Coconuttea Joy Shampoo

DIY shampoo with essential oils no Castile soap
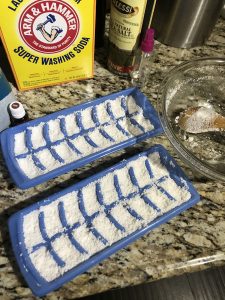
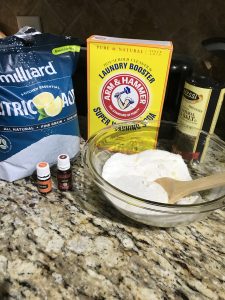
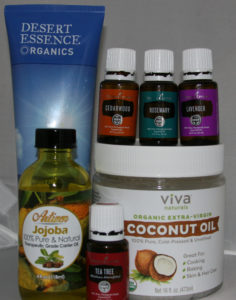
Combine the following into a bottle and then shake gently to combine. I’ve included links to the shampoo base carrier oils I use for your convenience. Links to the essential oils will go directly to the specific oils from my Young Living site.

  • 8 oz. shampoo base
  • 1/2-1 tbsp coconut oil
  • 1/2 tsp jojoba oil
  • 10 drops tea tree oil – extra cleansing power and is a natural lice repellent
  • 10 drops rosemary oil – encourages hair growth and volume (also a natural lice repellent)
  • 10 drops lavender oil – encourages hair growth and volume
  • 10 drops Joy essential oil blend – smells super nice

These oils are for my particular hair preferences. I’d highly recommend keeping the Joy and the tea tree oils, but the rosemary and lavender oils can be changed for anything else you’d prefer. Other great oils for hair include cedarwood, peppermint, thyme, cypress, and patchouli. The peppermint oil is primarily used to prevent oily hair, but I found that peppermint dried my scalp to the point of itching and flaking. I’d caution anyone using peppermint oil to NOT use 10 drops. A maximum of 5 should be more than sufficient.

This shampoo will be far more liquidy than your typical store-bought shampoo. Squeeze it directly onto your scalp instead of into your hands.

Filed Under: Essential Oils, Essential Oils Recipes Tagged With: Essential Oils, Essential Oils Recipes, Young Living Essential Oils

New Yoga Obsession: Mysore Ashtanga

November 16, 2017 by Keri

I have only taken one Ashtanga class before, and it was NOT a good experience for me. Nothing was explained, and I essentially had my ass royally kicked for 60 minutes with no room for breaks. I started to laugh when I couldn’t feel my arms anymore and the teacher instructed more sun salutations. The teacher did not offer any modifications. She did not try to really teach the newcomers. I left feeling incredibly unwelcome and defeated. It’s one thing to have my ass kicked during a workout or yoga class but feel I have room to improve. It’s another when you feel like you were an embarrassment to the whole class, which is how I felt as I dragged my feet to my car. I swore I wouldn’t do Ashtanga again.

Well, you know what they say about never saying never.

I now teach Yin Yoga at Super Yoga Palace, a studio that really focuses on Ashtanga and Mysore Ashtanga (developed in Mysore, India). Since I’m trying to show that Yin Yoga is a perfect complement to an Ashtanga practice, I knew I had to take a class eventually just to make sure I’m addressing the right things. [Read more…] about New Yoga Obsession: Mysore Ashtanga

Filed Under: Blog Tagged With: ashtanga, mysore, mysore ashtanga, scale pose, tolasana

5 Daily Yoga Poses

May 12, 2017 by Keri

Whether or not you can make it to a yoga class, there are 7 yoga poses all yogis should do every day. We do so many things with and to our bodies each and every day, and we expect them to keep on keepin’ on. If you want them to do just that, these 7 yoga poses will help prevent injuries from rough exercise as well as old age.

I urge everyone do these every day even if you do make it to a yoga class for a few reasons:

  • Your class may not do any of these poses.
  • Your class may not hold these poses as long as needed.
  • All practicing yogis need their own personal practices outside of class.

Those who work at a desk, slumped over a keyboard most of the day (I like to call it keyboard-asana) will find incredible benefits to performing these poses each day. Steady yogi practitioners will also benefit greatly by adding in these asanas into their own daily practices, simply for the strengthening and stretching of key muscle groups in our bodies.

Cat/Cow – Chakravakasana

Start on all fours with a straight back. As you inhale, drop the belly, pull back the shoulders, and push the chest forward with the head up and facing forward. As you exhale, drop the head and arch the back. Do this for 5-10 breaths.

Hand and Wrist Stretches

These hand and wrist stretches help prevent Carpal Tunnel Syndrome as well as any arthritis caused by overuse of hands and wrists. Do you do a lot of typing on a keyboard or on your phone? You need these stretches each and every day.

Sit on your knees with hips on heels. Plant your hands on the ground in front of your knees, and turn your hands so that the fingertips are facing your knees and your forearms are turned outward to the front. To go deeper into the stretch, walk your hands out a little further. Hold for two minutes and don’t forget to breathe.

Wrist Stretch

Flip the hands over, placing the backs of your hands flat on the ground in front of you. Your fingertips should still be pointing toward your knees. If you can’t get your thumb flat on the ground, move your hands closer to your knees. Straighten your arms as best as you can. If they bend and bow out too far, bring in your hands closer to your knees.

Hand Stretch

Tree Pose – Vrkasana

Most people recognize Tree pose without even taking a second of yoga. It’s an iconic yoga pose to be sure, but it’s also one of the most beneficial. It lengthens the spine and strengthens the feet and ankles. The stronger your feet and ankles, the better your balance. The better your balance, the lower the risk of falling and breaking a hip when getting older.

Stand perfectly straight, and start to lift one foot off the ground. Ground down the other foot through all four corners and spread the toes. Lift your foot and plant the sole against the standing leg. Do not lock out the standing leg, but still keep it strong. Do not use your hands to grab your foot and place it against your upper inner thigh. However high you can place your foot is where you are with your flexibility, and it will improve over time. However, do not plant your foot against your knee. It should be either above or below the knee. Press your foot against your leg, and your leg against your foot.

Hold for at least 10 -15 breaths with a goal of 2-3 minutes. Switch sides and repeat.

Feet Stretches

The feet are one of the most important extremities of the body. They hold us up while standing and moving. They contain the most bones and muscles in our bodies than any other region. It’s extremely important that we take care of our feet, and it’s something we rarely do outside of the occasional massage or pedicure. It’s incredibly important to stretch and strengthen the tops and bottoms of our feet.

Sit on your knees once again with the tops of the feet flat on the ground. Sit up straight, and simply sit and hold for 2-3 minutes. Then raise up on the top of your feet and toes for an even more intense stretch of the top of the feet and ankles. Goal is eventually hold this ankle stretch for one minute.

Intense Ankle Stretch Intense Ankle Stretch

Lean forward to all fours and lightly tap the tops of your feet on the floor to massage them out. Sit back on your knees and heels, but this time, tuck your toes under. Make sure all five toes are touching the floor. Sit up straight and hold for 2-3 minutes. This pose stretches the bottoms of your feet and shins and strengthens the ankles.

Fish Pose – Matsyasana

Fish pose is another shoulder- and chest-opener, and it happens to strengthen the back and shoulders as well. If the legs are in lotus or hero pose, you’ll benefit from a hip flexor stretch as well. But since those are a bit more advanced, let’s go with simple and work up to that point.

Sit with your legs straight out in front of you, and then lean back, resting on your elbows. Let the shoulders fall back and rest the top of the head on the floor. Fish pose can be even gentler by propping up the back, neck, and head with blocks or blankets.

All photos are courtesy of Yoga Journal.

Filed Under: Blog Tagged With: Asanas, Yoga Poses

Next Page »

Primary Sidebar

Sign up for our Newsletter!

No spam, I promise.

Footer

Certified Yin Yoga teacherLiving Yoga Dallas directoryYoga Journal Directory

Copyright © 2025 · Crafted by Warkhammer LLC · Log in